
Sunday, February 2, 2014
Moments of Tranquility

Sunday, January 26, 2014
Valentines Day with Core'dinations
Hello and Happy Valentines Day. The heart is wonderful place for all things kind and good.

Here is a card that I designed showcasing Core'dinations Vintage collection and Scarlett from the Darks collection.

You can see that embossing and sanding the Scarlett red cardstock matches the Vintage cardstock well. That is one nice feature of Core'dinations cardstock, so many of the collections co-ordinate with each other to design a wonderful presentation.

Add some embellishments like Darice washi tape, rhinestones, pins and ribbon and your have a luscious full bodied presentation of a vintage valentine card. Visit your nearest LSS and pick up some Core'dinations Cardstock for that special card.
Core'dinations Supplies
Darice Washi Tape/Folder
Other
Want2Scrap
May Arts Ribbon
Sizzix Die
Maya Road Stick Pins
Gina K Designs Stamps
Clearsnap Stephine Barnard Dye Ink, Raspberry
Monday, January 6, 2014
Happy New Year
Sharing a fresh blue and white Happy New Year Decor presentation with you today. When there is a fresh white snowfall at the beginning of the New Year, I think of white and blue color tones. Not everyone lives in snow country so I will try to give you the fresh look that snow does bring to the beginning of a New Year.
I like working with star's and my home decor frame for your door will greet anyone who visits your home with the feeling of fresh snow.
The picture taking of the front door was beyond my camera skill on a sunny beautiful day as you can image with all that glass, so I took the picture at night time and the balance of pictures from a wall in my home to appreciate the glitter of the die cut stars.
Lets gather those supplies and get started. Helmar Tacky Craft Glue did the trick for this project. Really worked well with ribbon between the star panels.
Just had to show you that I cracked open a new bottle of Helmar 450 Quick Dry Adhesive. See that great seal to protect your product until you are ready to use it. Gott'a love that feature of quality packaging.
Apply a liberal amount of Helmar 450 Quick Dry Adhesive to have all the ribbons attach to the back of the picture frame.
Now is this not a change from your traditional home decor wreath. It is so fresh and new to celebrate the beginning of the New Year.
I decided to make a card to celebrate the Beginning of the New Year as well.
Happy New Year everyone!!
Supplies
Core'dinations Cardstock, GlitterSilk
Sizzix Dies
Ribbon, Picture Frame
Friday, January 3, 2014
Ann Butler Designs New Design Team
I am happy to announce that I have a wonderful opportunity to create designs for Ann Butler Designs for the next 6 months. I had the pleasure of meeting Ann this past November at the Barrie Ontario Retreat for CHA Canadian designers. The Canadian CHA retreat has been the beginning of a new venture for me and 2014 will be a year of change and opportunity, starting with being on the Ann Butler Design team.
Here are the design team members which have been announced on Ann's blog, "Creativity Stirs The Soul".

Here are the design team members which have been announced on Ann's blog, "Creativity Stirs The Soul".

Lisa Rojas-Design Team
Lead
Ava Gavloski
Beth Watson
Carmen Flores
Tanis
Connie
Hall
Irit Shalom
Kristi Parker Van
Doren
Larissa Pittman
Nicole Picadura
Paula DeReamer
Roberta Birnbaum
Steph Ackerman
Vishu Reberholt
Guest Designers
Patti Hodder
Shannon Bielke
Please visit Creativity Stirs The Soul Blog and watch for our February designs with the new team in place. You will be inspired by designs from our team and quality products that will be presented over the next 6 months.
Monday, December 16, 2013
Core'dination Cardstock Christmas Decor
I am here to share with you a cute little Christmas Decor item that you can make using the Core'dinations Cardstock Neutral collection. Snip a few pieces of greenery from outdoors and you have a great table center piece or home decor item.

Search the internet images for pattern's or check out Coats and Clark for this great reindeer pattern.
Emboss, sand and cut out two pieces of each pattern for each of the reindeer. You need a front and back which is glued together.

 See how nice the inner core of the Core'dinations Cardstock matches so well with the paper pieced antler color of the Core'dinations Neutral collection.

 Have some fun creating your own home decor items from the Core'dinations Cardstock Neutral Collection. Decor items can be so vogue with sanded matching color tones.

Search the internet images for pattern's or check out Coats and Clark for this great reindeer pattern.
Emboss, sand and cut out two pieces of each pattern for each of the reindeer. You need a front and back which is glued together.


Supplies
Core'dination Cardstock Neutral Collection
Core'dination Sand it Set
Sizzix Embossing Folder
Coats and Clark pattern template
Helmar Adhesive
Fresh greenery
Monday, December 9, 2013
C'est Magnifique - December Kit
Owner Leslie always shares the love of her beautifully composed monthly kits. Stop by C'est Magnifique and become a member of the community.


Thursday, December 5, 2013
Tombow and Core'dinations Cardstock Vintage Christmas Card
Welcome to Day 4 and the final day of our Holiday Hop with Tombow.

Have you ever come across some vintage cards from days gone by? Well I wanted to create a card today with a vintage feel. Core'dinations Tim Holtz Shattered Kraft-Core is the perfect cardstock collection to achieve this look. The Shattered look to the cardstock takes you back to days gone by.

Photographing the card with some vintage crochet doilies really does make this card vintage looking.
Here I have started out by using the Tombow mono glue on the back of the die cut tree allowing the glue to dry semi-transparent. This re-positionable option is my favorite.
 Next step, is sanding and inking the Shattered Cardstock which created the weathered vintage feel that I was trying to achieve for my card.

The next step was to ink and tear the Shattered cardstock. The ink embeds into the cracked pattern of the cardstock giving the cardstock a weathered feel.


Gently, press the sponge pad to hook the two sides of the tabs together to help organize your supplies.
 Whenever you want to use your ink, your sponge is on the back of your stamp pad making it easy to attach to your blending tool. Think of how convenient this will be whenever you need to ink a project.
Thanks for stopping by my blog and letting me know you were here for a visit to play along with the teams.
Have you ever come across some vintage cards from days gone by? Well I wanted to create a card today with a vintage feel. Core'dinations Tim Holtz Shattered Kraft-Core is the perfect cardstock collection to achieve this look. The Shattered look to the cardstock takes you back to days gone by.

Here I have started out by using the Tombow mono glue on the back of the die cut tree allowing the glue to dry semi-transparent. This re-positionable option is my favorite.


The next step was to ink and tear the Shattered cardstock. The ink embeds into the cracked pattern of the cardstock giving the cardstock a weathered feel.

Add some twine, ribbon and rhinestones and you have found your vintage card to mail to someone who will truly hold the card in their hands and think back to a Christmas from the past.


Some days, we get side tracked and while making this card, looking for my supplies, I got side tracked.
Look what I discovered....
A wonderful use for the Tombow adhesive tabs.

Apply the soft side of the tab to the backside of the sponge pad.

Apply the coarse side of the tab to the back of your stamp pad.


Thanks for stopping by my blog and letting me know you were here for a visit to play along with the teams.
Here is the hop line-up for to-day. Hope you enjoyed our week of inspiration with the Tombow and Core'dinations Cardstock team.
Tombow http://blog.tombowusa.com/
http://cottagerca.blogspot.com/ ---that is me
Supplies
Core'dinations
Tim Holtz Shattered Kraft-Core Cardstock
Other supplies
Tombow Mono Adhesive Glue
Tombow Hook and Loop Tabs
Tombow tape runner
Clearsnap Colorbox embossing, embossing powder & ink
Want2Scrap Rhinestones
Spellbinder die
Monday, December 2, 2013
Helmar Adhesive Wintertime
Welcome to the season of Skating, Snowflakes and Hot Coco. To-day, I would like to share a pin inspired project showcasing the perfect glue for this fun project. Helmar Craft and Hobby PVA glue is the perfect glue for making fun glitter snowflakes that you can hang in the windows as a home decor item.

If you missed team mate Sandee's fabulous Helmar project on October 30th, check it out HERE. Sandee's Halloween project really impressed me so much, I wanted to try out her techniques for my WINTER project.
The first step to this project is finding a snowflake sketch or template. I choose to search Google Images for a snowflake template to print. Sized a few different templates, printed and taped my parchment paper over the printed templates.

Be sure that you look at your glued snowflake skeleton and see that the branches of your snowflake are full and plump. Skinny glue branches on your snowflake result in a failed project, so look closely before you apply the glitter.
I tested the project and I found that the Helmar Craft and Hobby PVA glue was the best choice for achieving a continuous thick line of glue for a sturdy skeleton snowflake after the glitter was applied and dried over night.

Apply your favorite glitter, dry (overnight) and gently peel away the snowflake skeleton from the parchment paper.

After testing the peel away step, i found if you roll the parchment paper away from the dried glued skeleton snowflake, it came off easily. Spray outside, the Helmar Crystal Kote Gloss Varnish to hold the glitter.

This project would be great for a SNOW DAY, to keep the kids busy. A bonding project for grandparents and grandchildren.


The first step to this project is finding a snowflake sketch or template. I choose to search Google Images for a snowflake template to print. Sized a few different templates, printed and taped my parchment paper over the printed templates.

Be sure that you look at your glued snowflake skeleton and see that the branches of your snowflake are full and plump. Skinny glue branches on your snowflake result in a failed project, so look closely before you apply the glitter.
I tested the project and I found that the Helmar Craft and Hobby PVA glue was the best choice for achieving a continuous thick line of glue for a sturdy skeleton snowflake after the glitter was applied and dried over night.

Apply your favorite glitter, dry (overnight) and gently peel away the snowflake skeleton from the parchment paper.

After testing the peel away step, i found if you roll the parchment paper away from the dried glued skeleton snowflake, it came off easily. Spray outside, the Helmar Crystal Kote Gloss Varnish to hold the glitter.

This project would be great for a SNOW DAY, to keep the kids busy. A bonding project for grandparents and grandchildren.

Imagine the possibilities of this Helmar Craft and Hobby PVA glue. Each season you could come up with a craft for each themed event. ie: New Year, Valentines, St. Patrick, Easter, its endless and all from the best glue-- Helmar, Craft and Hobby PVA glue .
Add Helmar Craft and Hobby Glue to someone's Christmas stocking this year !!!
Possible snowflake decorating suggestions.
Windows
Gift embellishment
Mirror embellishment
Tree decorations
Supplies
Helmar Craft and Hobby PVA glue
Helmar Crystal Kote Gloss Varnish
Glitter Parchment paper
Snowflake template
Monday, November 25, 2013
CHA Canada
CHA Canada (Craft & Hobby Association of Canada) hosted an accreditation retreat in Barrie Ontario the weekend of November 22-23-24, 2013. This event was to collectively gather artist and suppliers from across Canada to discuss, support and mentor a team of professionals within the Craft industry.


Please visit these leaders within our industry and see for yourself, what they have to offer and how you can become a member of their community.

Thank you for showcasing your products to the CHA Canada conference attendee's in Barrie, Ontario.

Suppliers who attended this weekend were.
Brother, Scan-n-Cut Machine
Red Heart - Coats and Clark Canada

Please visit these leaders within our industry and see for yourself, what they have to offer and how you can become a member of their community.

Thank you for showcasing your products to the CHA Canada conference attendee's in Barrie, Ontario.
Core'dinations Blog Hop
Mark your calendars and join me next week for a fun filled week of inspiration. The Coredinations team will be sharing lots of projects with everyone.
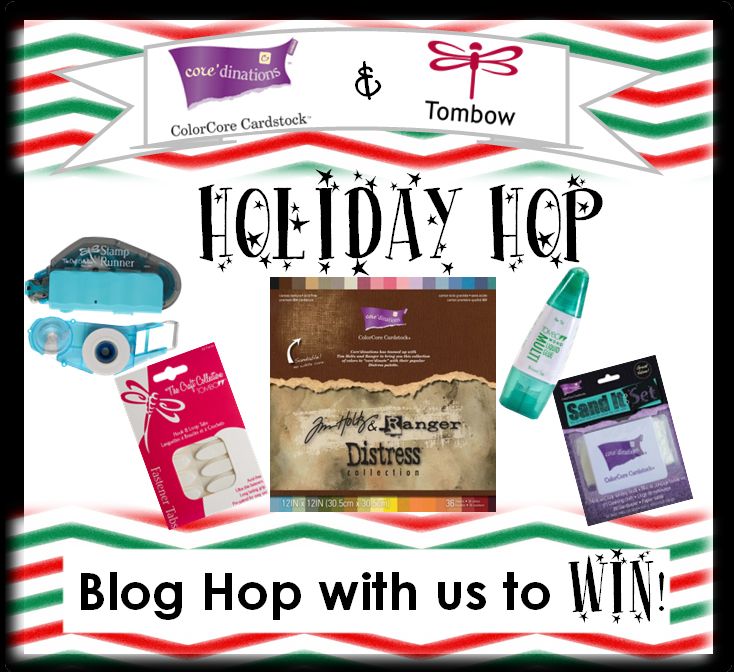
The hop starts Dec 2nd and my card will be featured on Thursday Dec 5th. So visit Core'dinations Blog and mark them as a favorite and be sure to visit.
Subscribe to:
Posts (Atom)